Setting Up Your Profile
To access and set up your Fanbucket profile, follow these steps:
- Log in: Visit the Fanbucket website and enter your username and password to log in to your account.
- Accessing the Profile: Once logged in, you can access your profile in two ways:
|
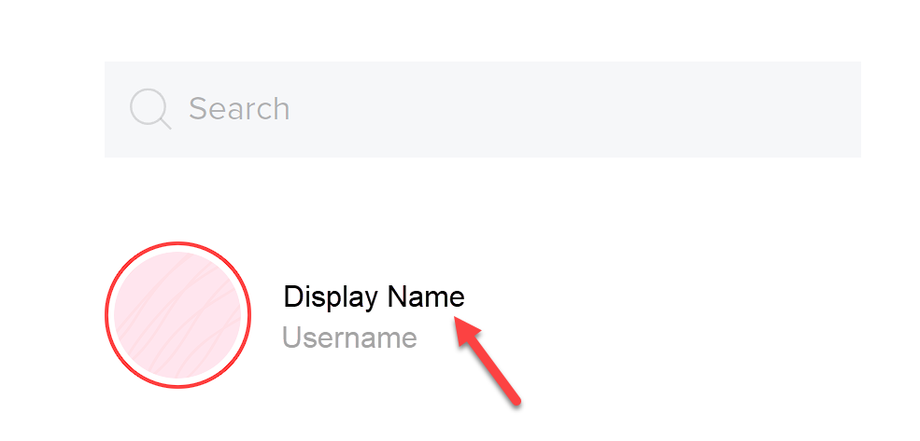
Click on your Display Name located at the top right corner of the page.
|
 |
|
Use the menu on the left-hand side and click on the person avatar icon.
|
Navigating the Profile Settings: On the profile page, click on the "Settings" option from the right-hand side menu. This will open up the settings section where you can edit various aspects of your profile.
In this knowledge base article, we will focus on the following subsections within the settings page:
-
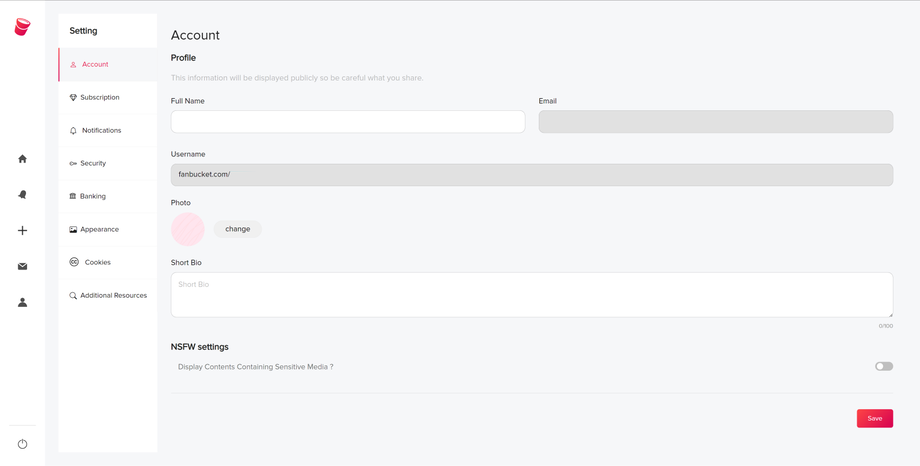
Account: In the account settings, you can enter information that will be publicly visible to other users. Here, you can:
- Enter your full name.
- Upload a Fanbucket user profile picture/avatar.
- Add a short bio.
- Turn on or off the NSFW (Not Safe for Work) setting slider.
-
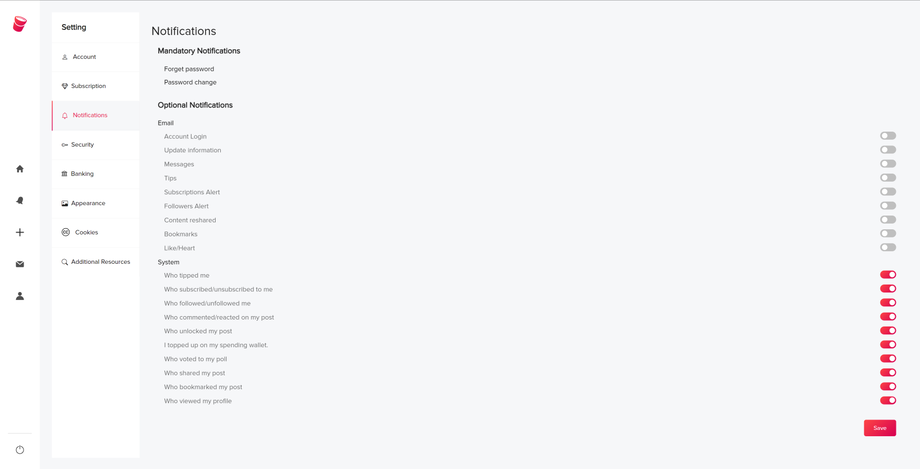
Notifications: Under the notifications settings, you can manage the types of notifications you receive. There are two mandatory notifications that cannot be turned off, including:
- Forget password.
- Password change.
-
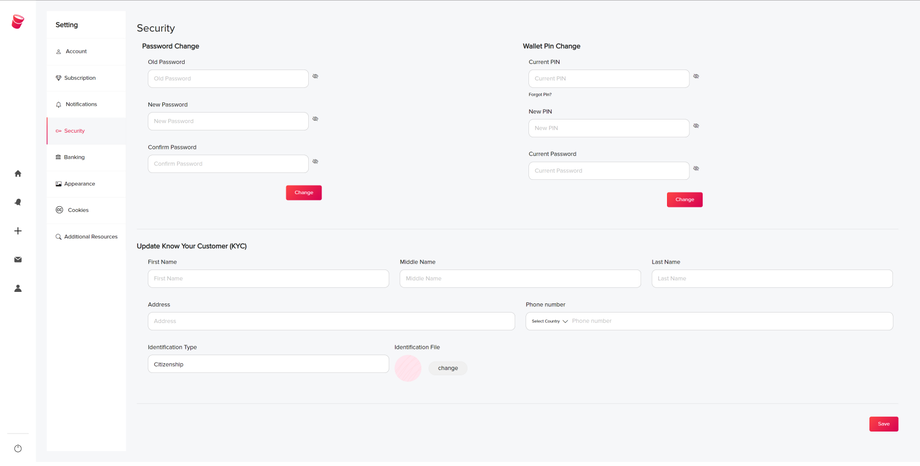
Security: In the security settings, you can ensure the safety of your account by:
- Changing your password.
- Changing your wallet PIN.
- Updating your KYC (Know Your Customer) details, including uploading identification documents like citizenship, passport, or social security number.
-
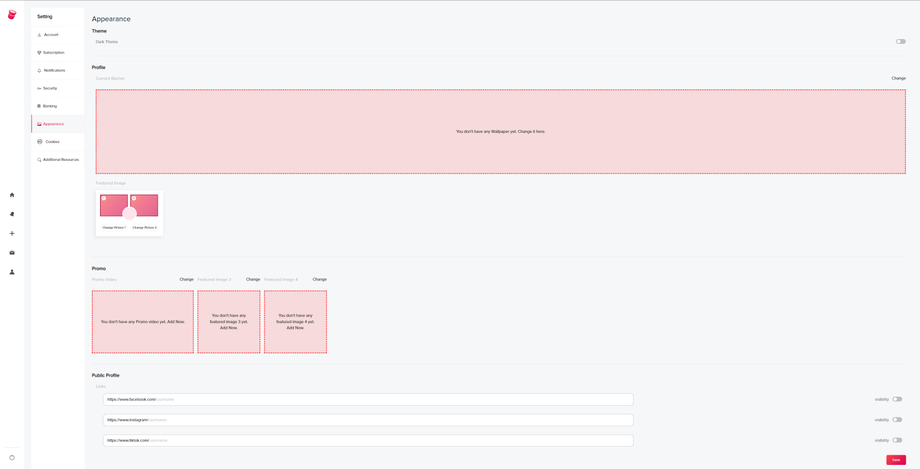
Appearance: The appearance settings allow you to customize the visual aspects of your profile. Here, you can:
- Enable the dark theme for a different visual experience.
- Add a banner to your profile page.
- Include featured images (1 and 2) on your public profile.
- Add a promo video that will be displayed on your profile.
- Set additional featured images (3 and 4) for your public profile.
- Add links to your Facebook, Instagram, and TikTok profiles, with the option to control their visibility using a slider.
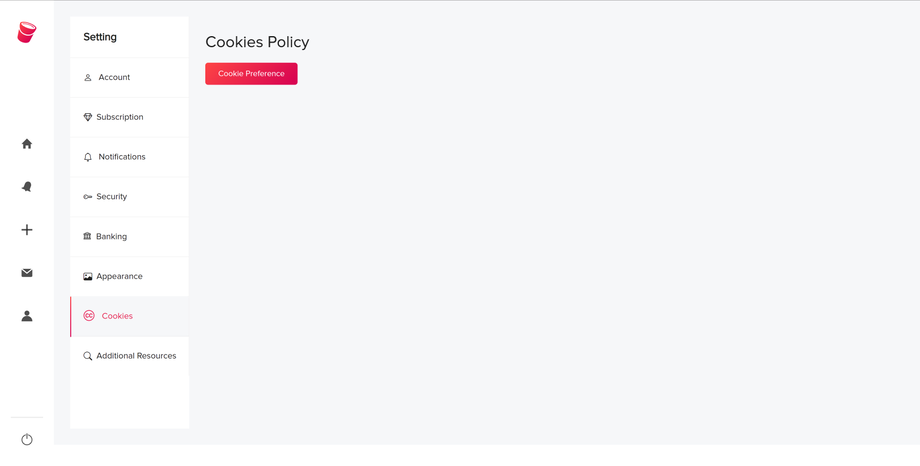
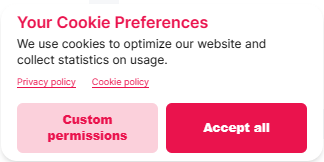
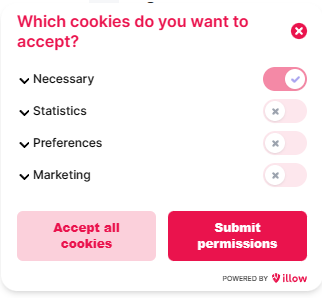
- Cookies: The cookies settings allow you to manage your preferences regarding cookies on Fanbucket. By clicking the "Cookie Preference" button, a module will pop open at the bottom left of the Fanbucket website, allowing you to adjust your cookie preferences.
By following these steps and customizing your profile settings, you can create a personalized and engaging presence on Fanbucket. For more detailed instructions or any additional questions, refer to our comprehensive knowledge base.
We value user feedback and suggestions. If there are any specific features or improvements you would like to see in the profile settings or the overall Fanbucket platform, please share your ideas on our Fanboard at ✨ Wish list - Fanboard (fanbucket.com). Your input helps us enhance the platform and cater to the needs of our users effectively.


